This year I’m doing Debbie Abrahams’ Mystery Blanket. There’s lots of intarsia.
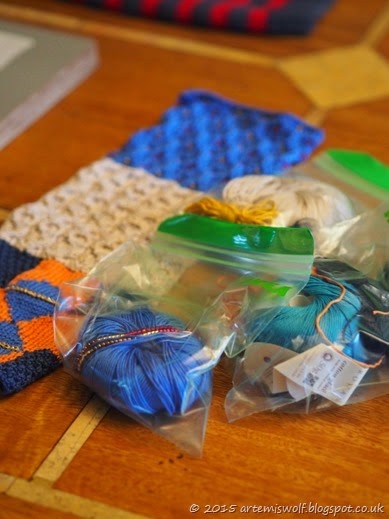
I’m taking some advice from a friend and sorting out my materials for each square when I get the patterns. This means I can just grab a bag and start knitting when I’m in the mood.
One thing that’s very useful to know is how much yarn to measure off for your intarsia bobbins. You may be of the persuasion to wind a bit off and hope for the best; if you’d rather be more accurate then hopefully the following will be helpful. It would be useful if you are short on yarn, or like me want to prepare in advance, or if you travel about with your knitting and want to take less yarn with you.
First, count the number of stitches in each section you’ll be knitting.
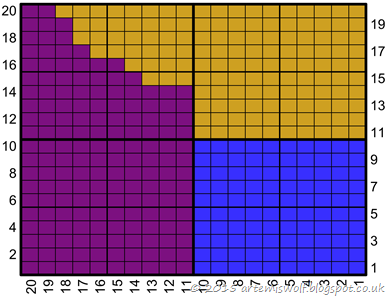
Here’s a sample chart –
You can just count each square and make a note of it. Or here’s a few tips to make the counting quicker. If the chart is numbered or has boxes of 5 or 10 then it makes life easier.
For easy square shapes like the blue square then just multiply the rows by the stitches. There are 100 stitches in the blue square.
If the shape is irregular like the purple shape, then find any square or rectangular shapes – such as the area outlined in green and work out how many sts are in this i.e. multiply the rows by the stitches. There are 140 sts in this section. Then count by hand the small purple bit that is left – 25 sts in this section. Add the two sections together and there are 165 sts in this section.
Repeat this for the yellow section and there are 135 yellow sts.
I’m just going to work on the purple section now to simplify things. The stitch count is 165 sts, which I’ll call X. You need to know how many rows are in that section too. This is easy with a numbered chart. There are 20 rows in the purple section.
The next step is to work out how much yarn a stitch uses. I’ve seen some people work this out by winding the yarn around the needle 10 times and measure this length, then divide by 10 to get the number. This would give you a good estimate but won’t perhaps be as accurate.
What I tend to do is measure how many stitches I can knit in a metre (or a yard) of yarn. I do this on my gauge swatch but if this isn’t something you do then cast on enough stitches for a swatch (say enough for 6 inches of width) and knit a row or two first.
Start at the beginning of a row, measure a metre or a yard of yarn. It doesn’t matter whether you’re metric or imperial , just work in what you’re used to.
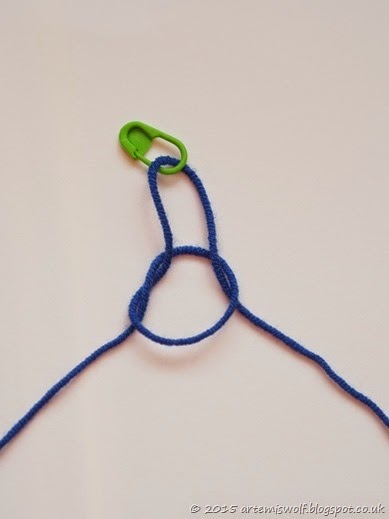
Make a slip knot at the metre/yard mark.
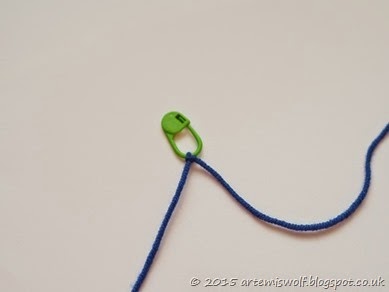
Use either a lockable stitch marker, safety pin or even a paper clip and attach it through the loop of the slip knot (where the knitting needle normally goes).
Then pull it up tight.
Work across your stitches until you reach the knot. Count how many stitches you’ve worked.
In my sample, I worked 59 stitches in a yard. If working in imperial, divide this number by 36 and that’s how many stitches can be worked in an inch. If working in metric, divide this number by 100 and that’s how many stitches can be worked in a centimetre. My number is 1.64 (rounded to 2 decimal places). I’m going to call this figure Z. I can work 1.64 stitches in 1 inch.
I’ve got all the numbers I need to work out how much yarn we need for the purple section.
- Number of stitches – 165 – X
- Number of rows – 20. The rows give a bit of leeway for moving across stitches and up and down rows. Multiply this number by 2. 20 x 2 = 40 and call it Y.
- Stitches per inch/cm – 1.64 – Z
Number of stitches + number of rows multiplied by 2. 165 + 40 = 205
Divide this number by the stitches per inch/cm. 205 ÷ 1.64 = 125
Add 12 inches / 30 cms for tails. 125 +12 = 137 inches
The yarn I need for the purple section is 137 inches.
For those that like numbers then here’s a formula that sums it all up – (unintentional pun!)
This can be a little time consuming if you have a huge chart and it’s not practical in all circumstances. However, it’s a useful thing to know how to do.
Once you’ve got all your yarn then wind into bobbins and you’re ready to start knitting.
Personally, I can’t stand the plastic knitting bobbins. They weigh your knitting down, bang about, taffle together and stop you from getting into a flow with your knitting.
I’d recommend winding them into butterfly bobbins. There isn’t any added weight to your knitting, if you have a taffle you can just pull the yarn through and if you’re using shorter lengths then there’s less to taffle anyway.
Here’s how I make butterfly bobbins.
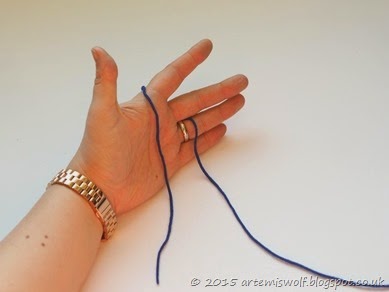
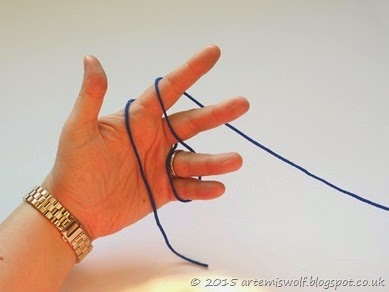
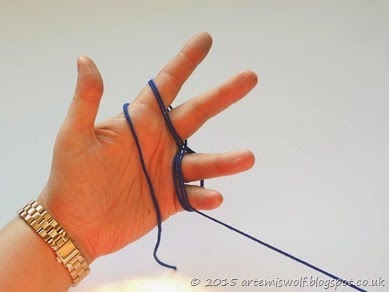
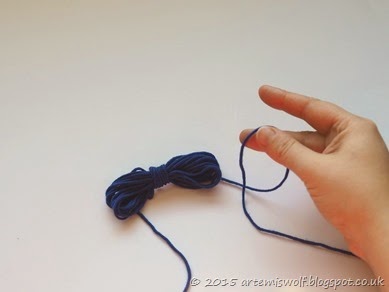
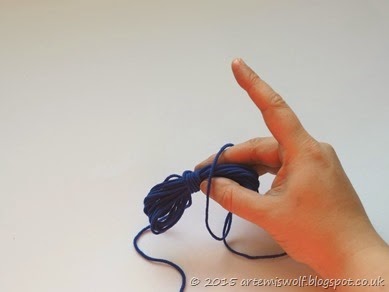
I wind bobbins on my hands. For a smaller amount of yarn, I’ll do this over just two fingers. For most circumstances then I’ll use four. Give yourself enough of a tail to get it out of the way of winding. This needs to stay free because this is the end you knit from.
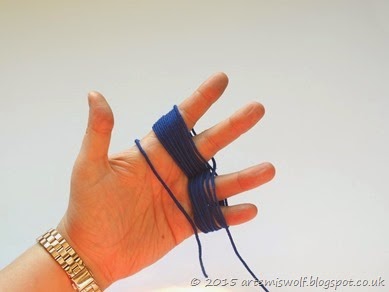
Use the photographs as a guide but basically wind the yarn in a figure of eight shape. Some people just wind it around without the figure of eight – not tried it myself though. I always think the figure of eight keeps the strands stacked on top of each other so they are easier to pull out.
Keep winding…..
Continue until you’ve got enough left to wind around – probably about 16 inches/40 cm (more is better than less).
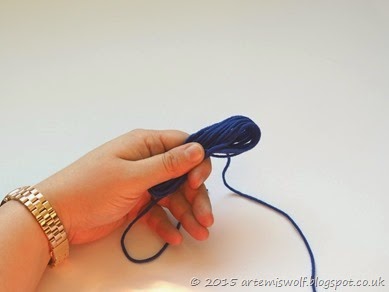
Slide the yarn off your hand holding it firmly in the middle so it doesn’t unravel.
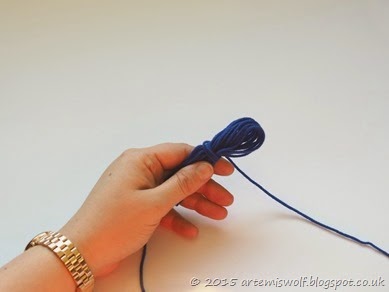
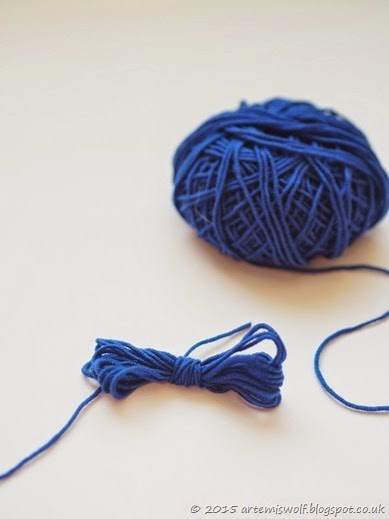
Wind the tail end of the yarn around the middle section. Do this firmly but not too tight as the yarn wants to run through underneath. Continue until there is only a small amount of yarn left.
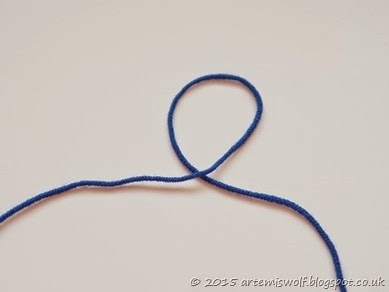
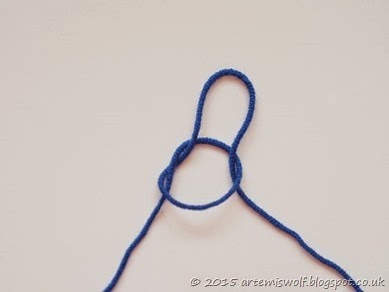
Loop the yarn….
Slide it over the end of the yarn to the middle (where you’ve been winding around).
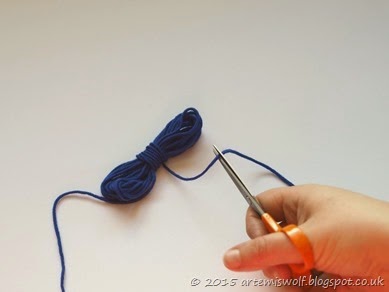
Pull it tight. If you’re winding from a ball then just clip the yarn short.
To use the butterfly, pull the yarn from end where you started (not the end that is wrapped around the butterfly).



![Tutorial: Working out stitch count in shaped knitting [includes calculator]](https://www.hardybarn.co.uk/wp-content/uploads/2020/10/Cast-2Bon-2B2-2Bsts-2B-25281-2529-700x462.png)