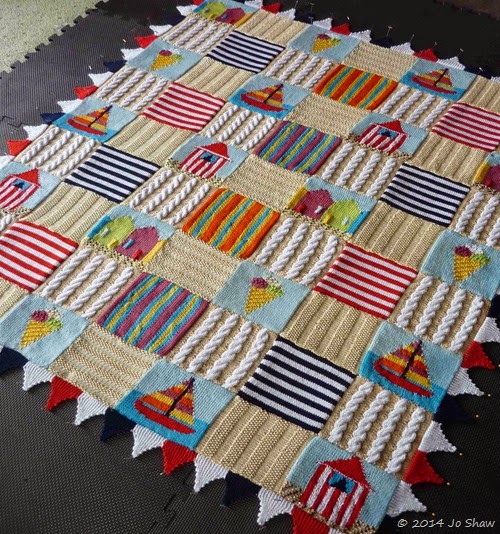
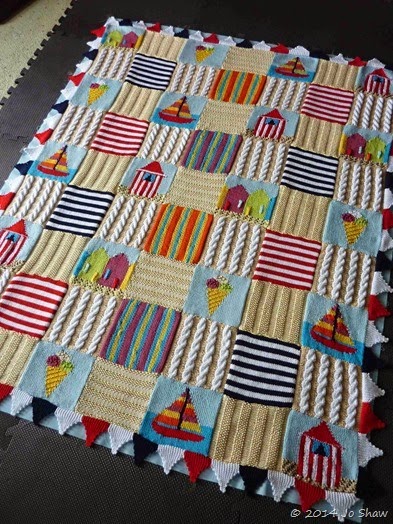
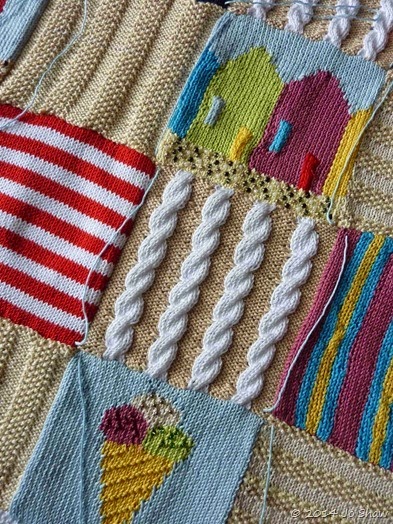
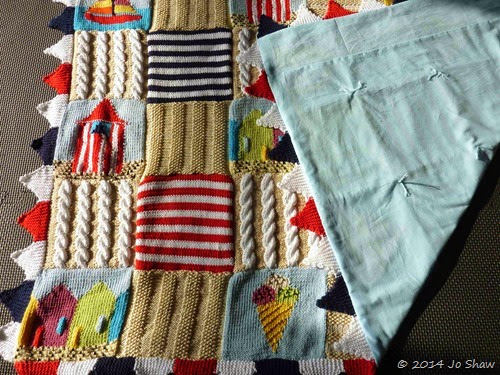
Recently, I was asked to help out with a project. This wonderful blanket (designed by Debbie Abrahams from her book, Blanket and Throws to Knit) was knitted by Ann. I was asked to piece it together and back it. The finished blanket is being used to raise money for When you Wish Upon a Star. The yarn was donated by A Good Yarn and the fabric and cotton by L & C Fabrics.
I thought I’d show you how I went about backing the blanket, I went about it as I would a quilt. Though, I decided tying would be the best way of layering it together, as traditional quilting would be difficult on a knitted fabric.
1. Block the blanket. I pinned it out and spritzed it. Normally, I would wet block, but I was concerned that the red may bleed and it would take some time to dry too.
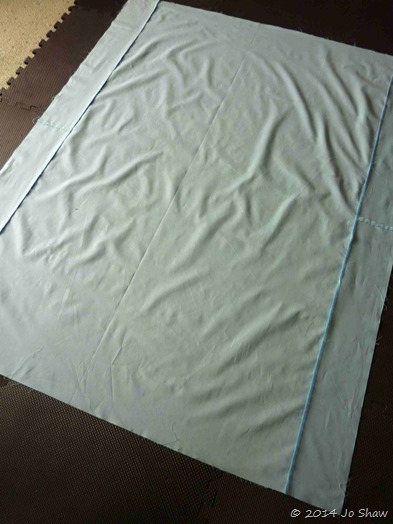
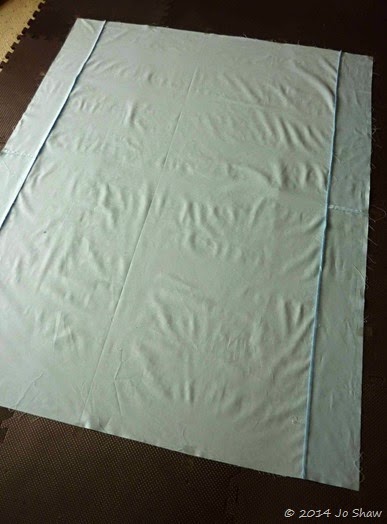
2. My blanket was too large for a standard width so I pieced the backing. The backing should be a few inches larger than the knitted blanket. Place it right side down on the floor.
I then tape it down on the floor to make it lay flatter. Just using sellotape around the edge, I taped the middles, then the corners and then along the edge and it smoothed it out.
4. Place the knitted blanket in the centre of the backing, face up.
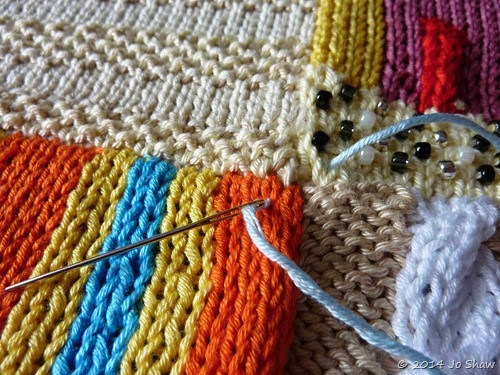
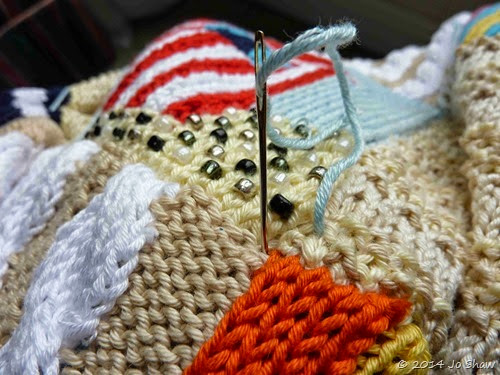
5. Starting in the middle, with some thread/yarn (I used some of the mercerised cotton that the blanket was made from) and using a sharp needle, take a stitch at each corner – making sure that fabric is caught at the back.
6. There’s no need to cut the yarn for each stitch, just stretch it across the top between each stitch, like the photo below.
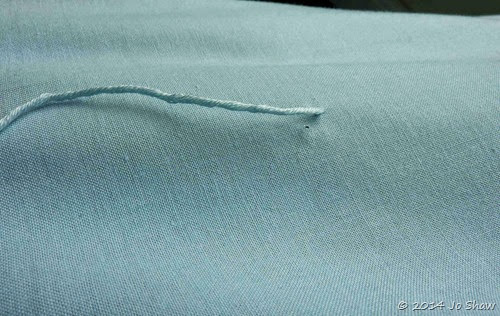
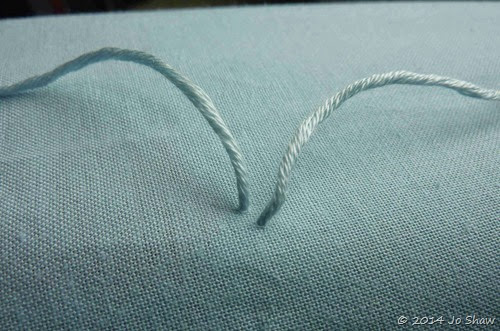
7. Once all the stitches are done. Turn it over and make sure you’ve gone through all the layers to the back. Each stitch should look something like this.


8. The next stage is tying the knots, cut all the strands across the front in the middle of the length. I didn’t like the look of the knots on the front of the fabric, so I turned it all around. If you are happy with your knots on the front, then skip to step 11. To turn the knots around, pull one end out on the back.
9. There should be one strand on the front. Thread the needle onto the front strand…
…and take this end through to the back.
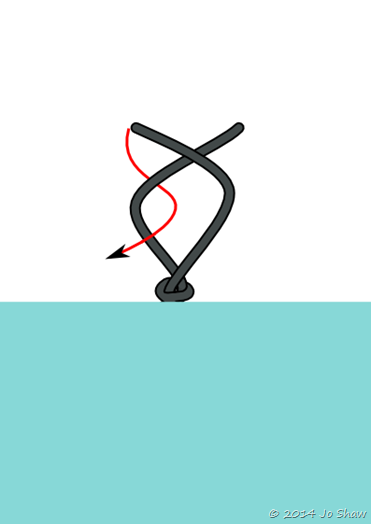
12. Under and out. Pull it up very tightly.
13. Right over left, under and out and again pull it tightly. I ended up knotting it a third time because the cotton was slippery.
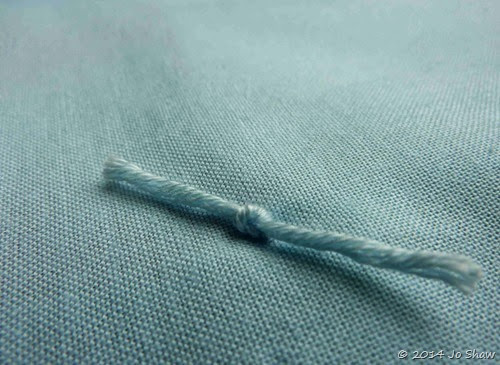
14. Repeat from step 8 for all the knots. Then trim the strands to within an inch or two of the knot.
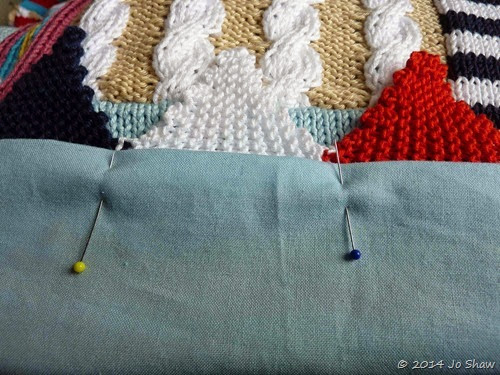
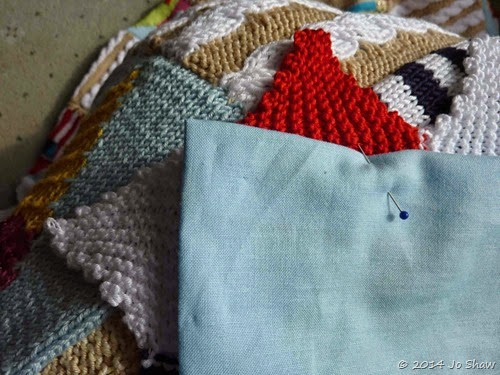
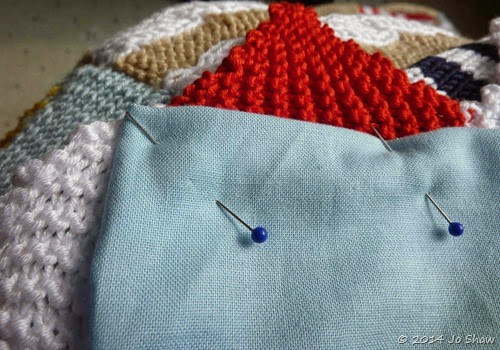
15. The back should be tied securely to the blanket. Next the edge needs to be attached. If necessary, trim the cotton backing to within an inch of where it’ll be sewn down. Fold that edge down and pin into position.
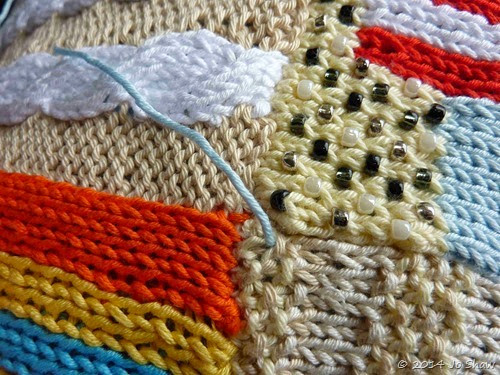
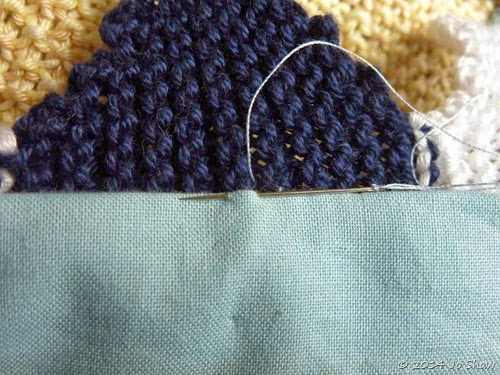
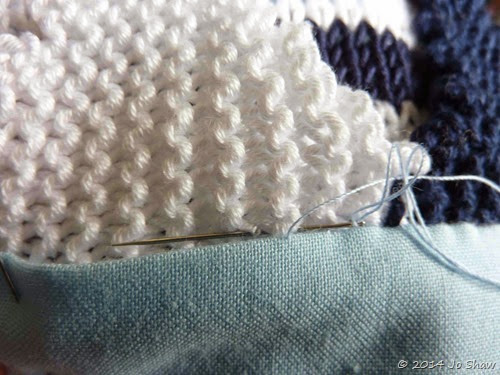
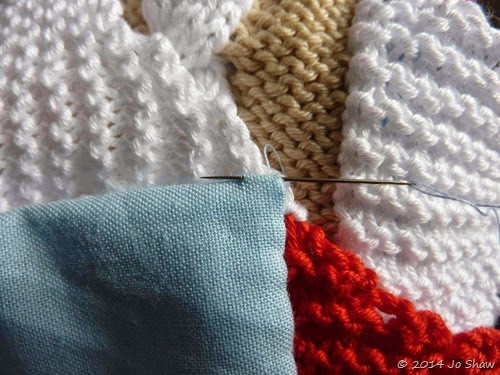
16. Use ladder/mattress stitch to invisibly sew the fabric to the knitted blanket. Try to stay on the same row of knitting all the way around. This ladder stitch is the same stitch that is used for sewing up side seams in knitting. Take a stitch through the edge of the folded seam…
…then take the same stitch a little further along in the knitted fabric ( the picture jumped from blue to white, the one I wanted to use was out of focus, so just imagine you’re on the same bit of the blanket).
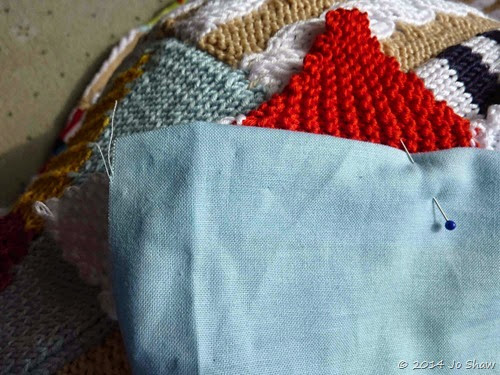
….fold the corner under….
…and pin right at the corner.
18. When you get to the corner, make sure you start or finish a stitch directly on the corner, so you get a nice crisp edge.
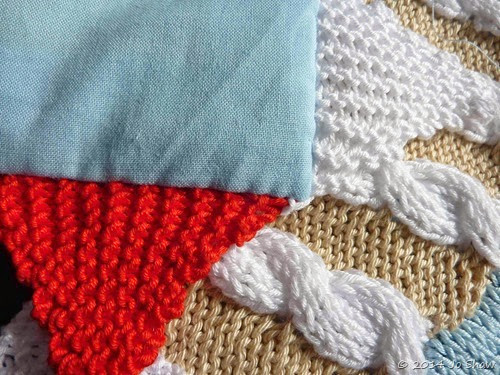
This is how the corner looked after sewing.
Continue around the blanket until you get to where you started. I steamed the edges of the backing (without touching the iron to the fabric), this gave it a crisper finish.
I managed to back it in a day but you can see by the last picture that the light had changed. I didn’t use any batting because I felt the knitting had enough body, but I can’t think why you couldn’t use some if you wanted to.

