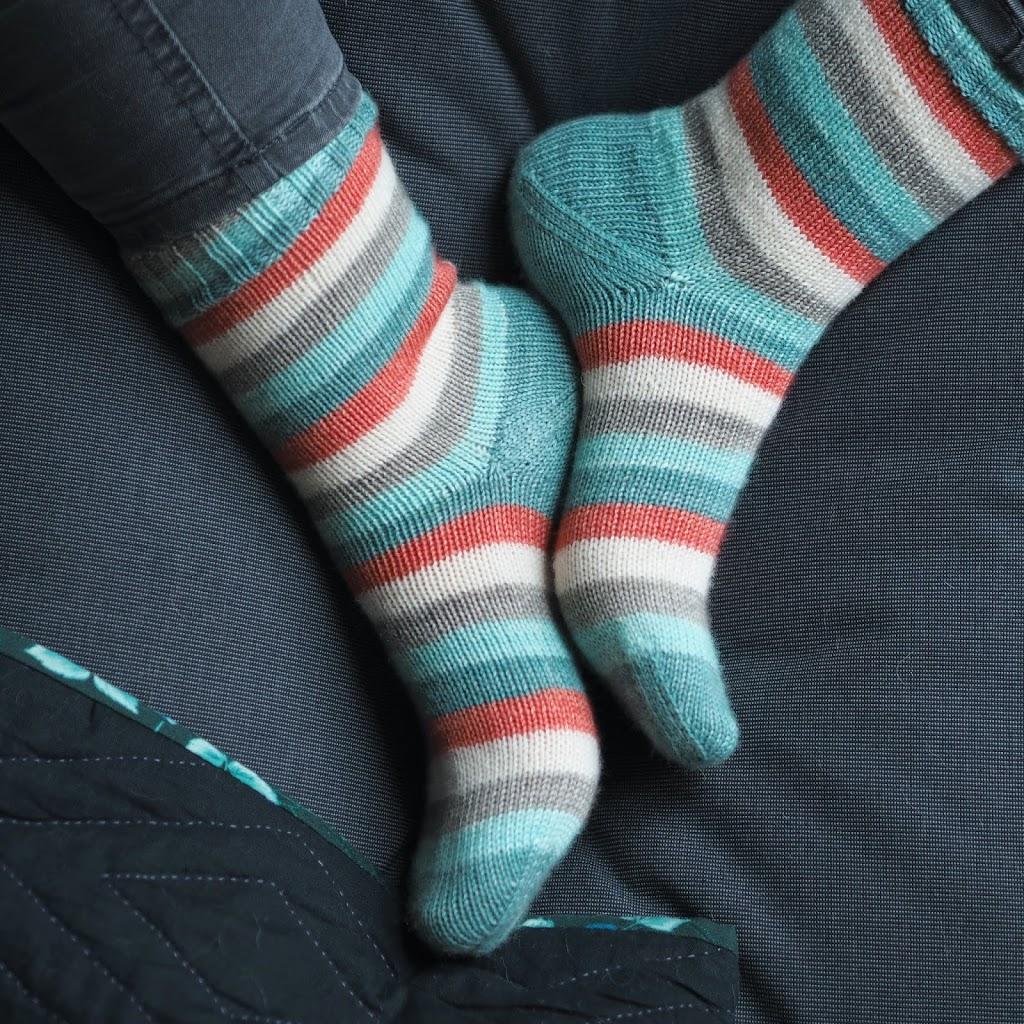
I don’t know whether you’re the same but I’ve always been disappointed with the fit of an afterthought heel. I think this is because I have a very high instep and the heel just isn’t deep enough. I’m going to talk a bit about “maths and fit” in this first section, but if you’re looking for the tutorial on how to put in your afterthought heel then just slide down to the bottom.
Afterthought heel fit
I played about with the maths a bit to see why they don’t work for me. My heel diagonal is about 30cm [11 7/8″]. You’d expect to have a bit of negative ease around the heel diagonal – 10 -15% is a good range – so I want it to be somewhere between 25.6 – 27cm [10.1 -10.7″] in circumference.
If I were to work a basic afterthought heel, that outside measurement would be about 12.5cm [5″] (I worked out this number by counting the rows in the afterthought heel and multiply by 2; plus the width of the final kitchener stitches) plus half of the foot circumference, 8.9cm [3.5″]. So if I were to work a normal afterthought heel then the heel diagonal would be 21.4cm [8.5″].
I need 25.6 – 27cm [10.1 -10.7″] but I’m only knitting a heel that’s gives me 21.4cm [8.5″]. That’s about 4.2 – 5.6cm [1.6 – 2.2″] smaller than I need. No wonder it doesn’t fit me properly.
How can I improve the fit?
There’s a few ways in which you can add extra depth –
- increase extra stitches at the start of the heel
- work extra plain rounds before starting the heel shaping
- add some short rows
What I did in my sock?
- increased 4 extra stitches (I picked up these at the corners to have a secondary benefit of helping to reduce holes). For every 4 sts added, you’re adding in an extra 2 rows into the heel.
- worked 5 plain rounds before starting the heel shaping.
- added in 4 short rows. I worked these under the decreases and worked 1 extra stitch each row.
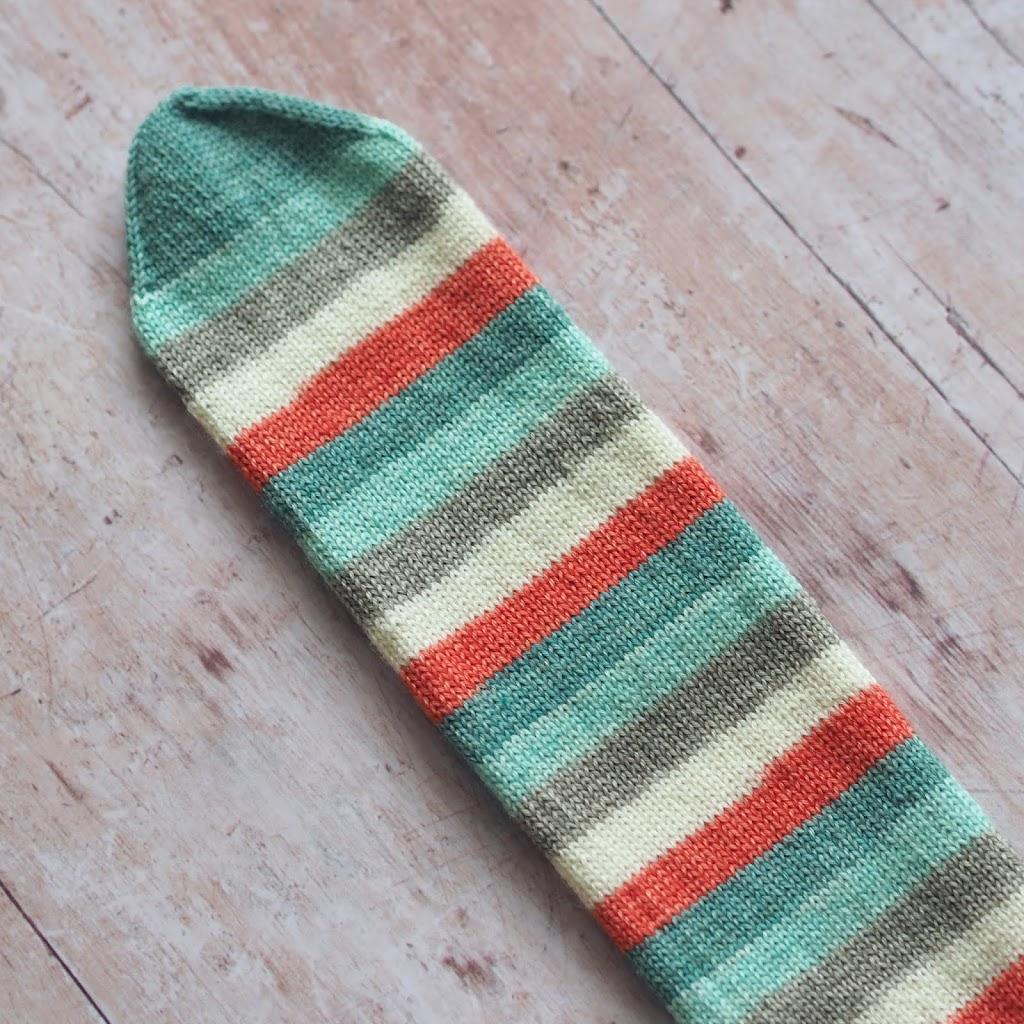
Set up for putting in an afterthought heel
- scissors
- knitting needles
- darning needle
- your finished sock tube
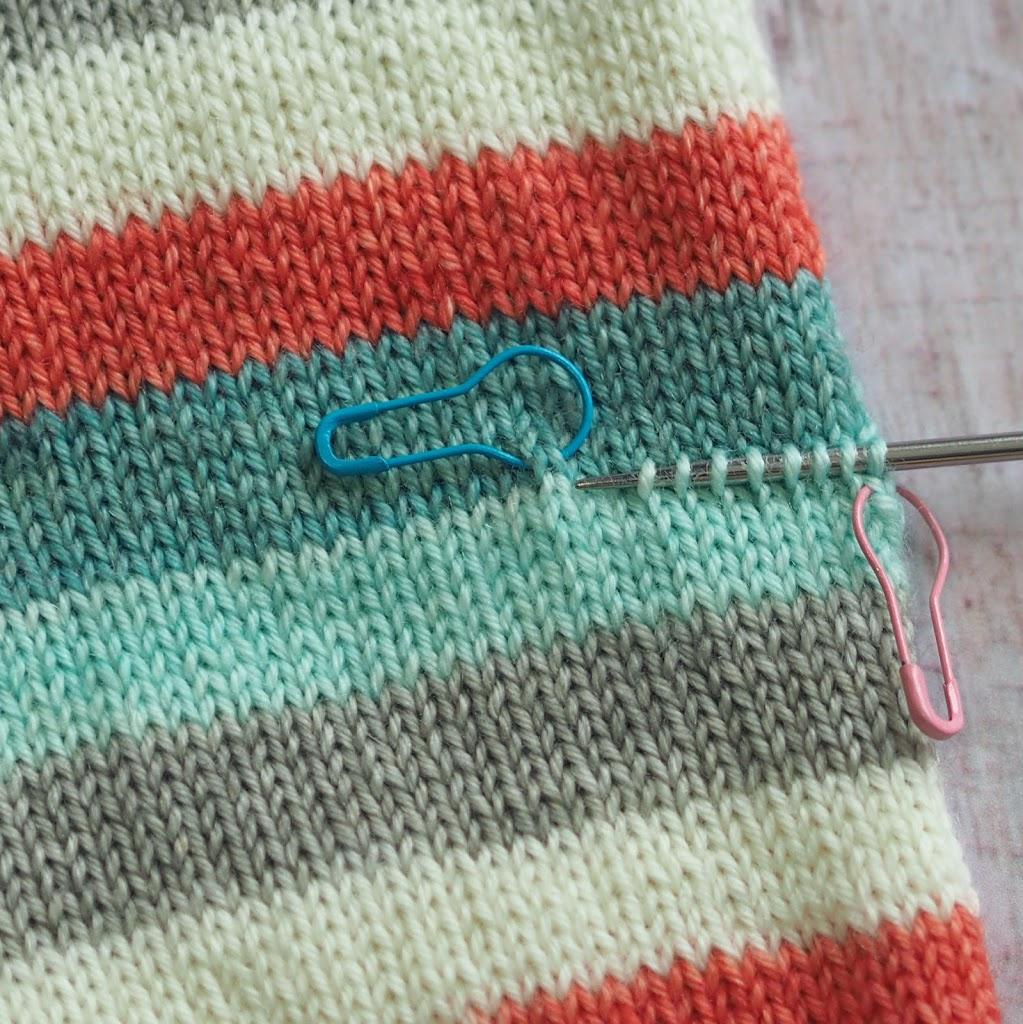
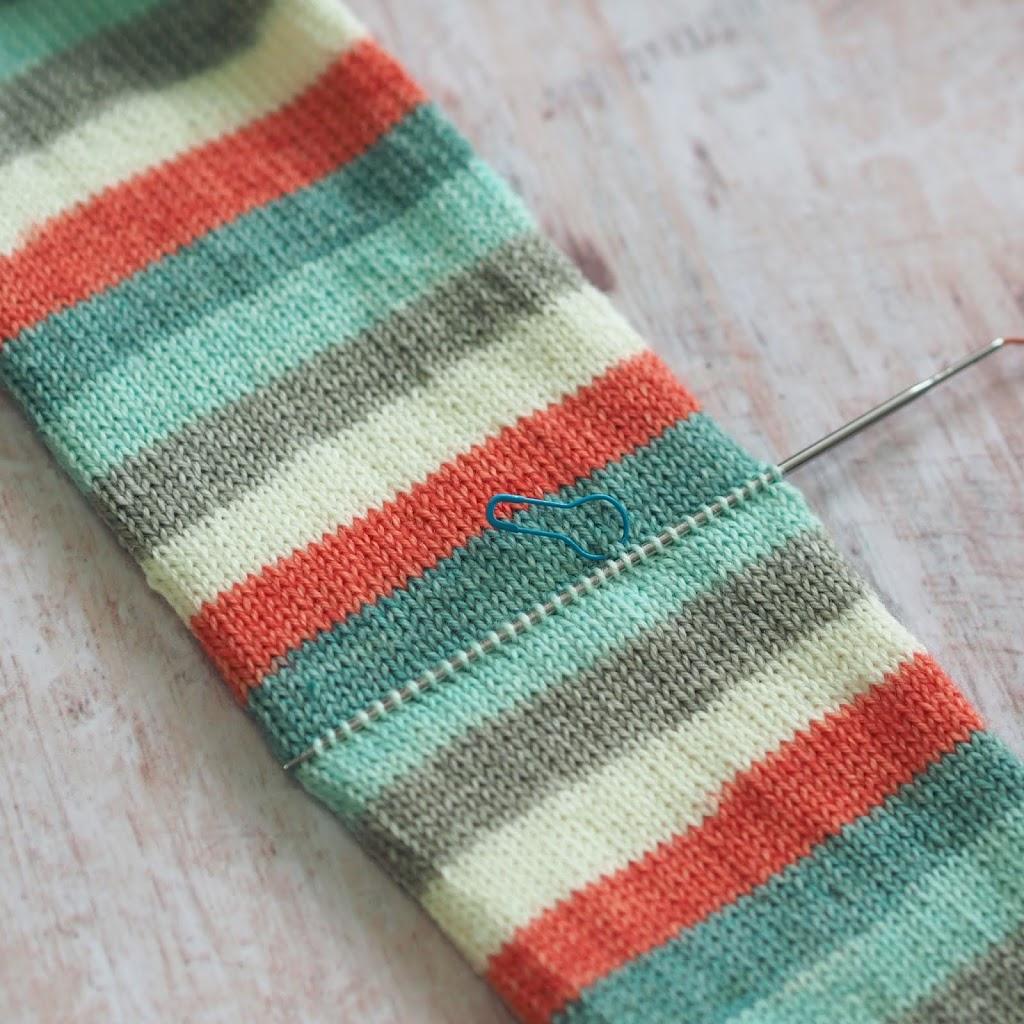
- Work out where you want to put your heel. This will be your foot length minus the length of the heel. If you’re working from a pattern, then it will most likely tell you where. Mark that row with a stitch marker (blue marker in photo).
- Using your knitting and going from right to left with the sock toe at the top, pick up the right leg of every stitch on the row below the marker until you have half your stitches on the needle.
Repeat this two rows up i.e. make sure the marked row is skipped.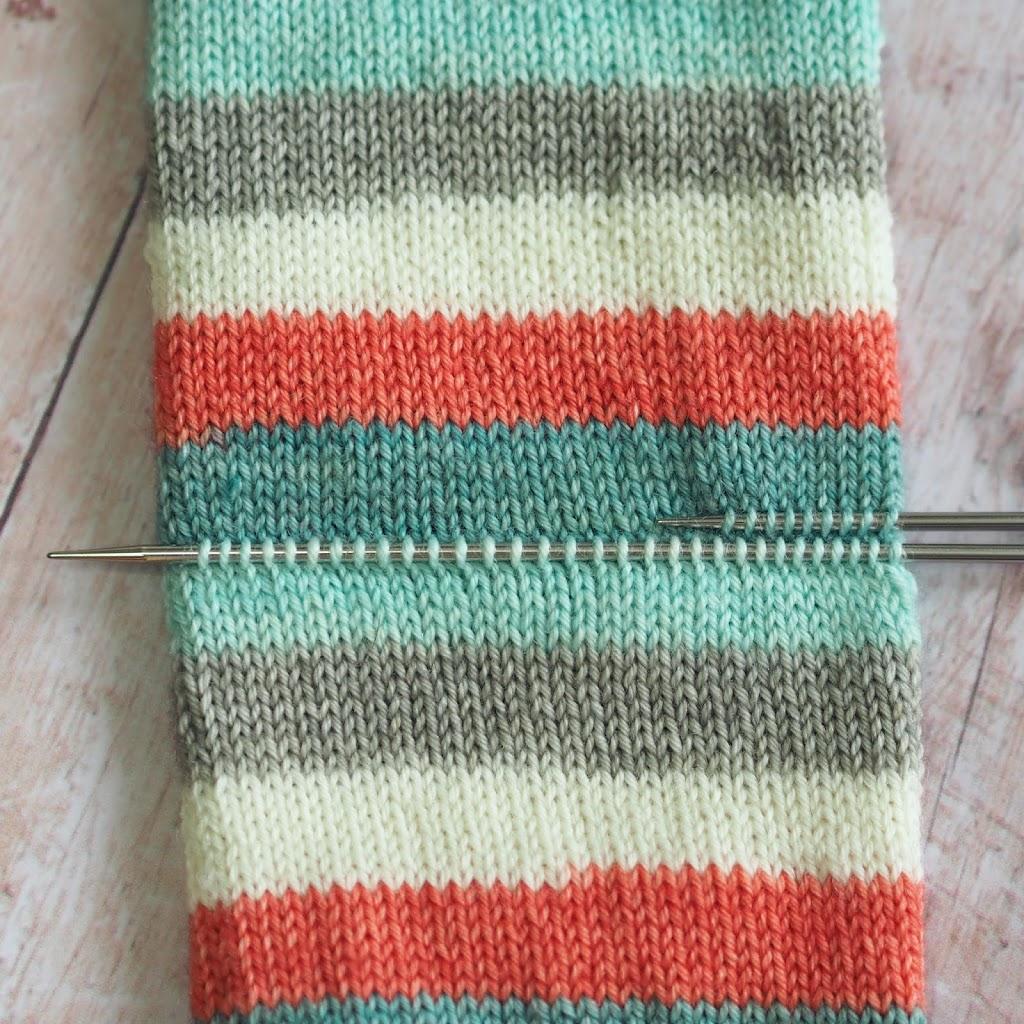
- You should have the same amount of stitches on each needle with a row between the needles.
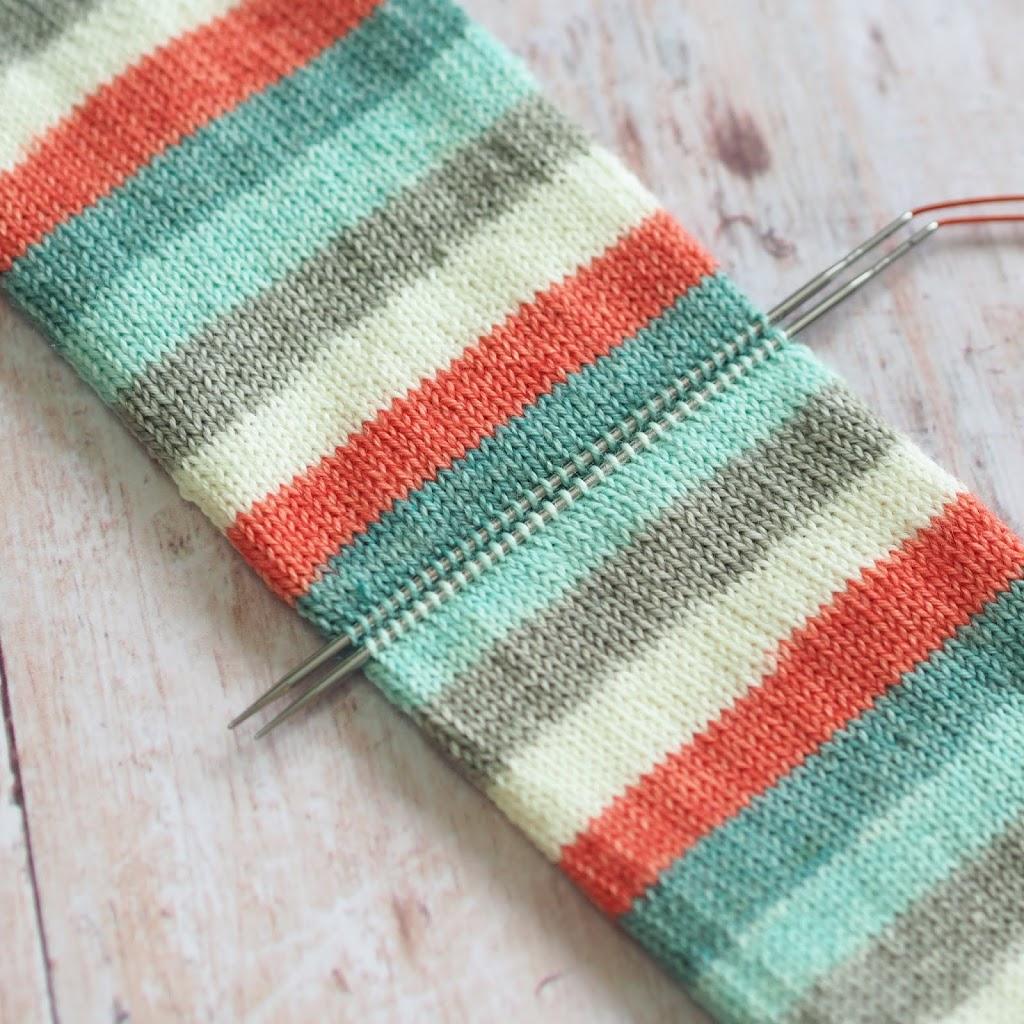
- If working with needles that can be pulled through, do so, as it is easier to see what you’re doing.
- Using sharp scissors, carefully cut a stitch in the middle. Make sure you don’t snip anything else.
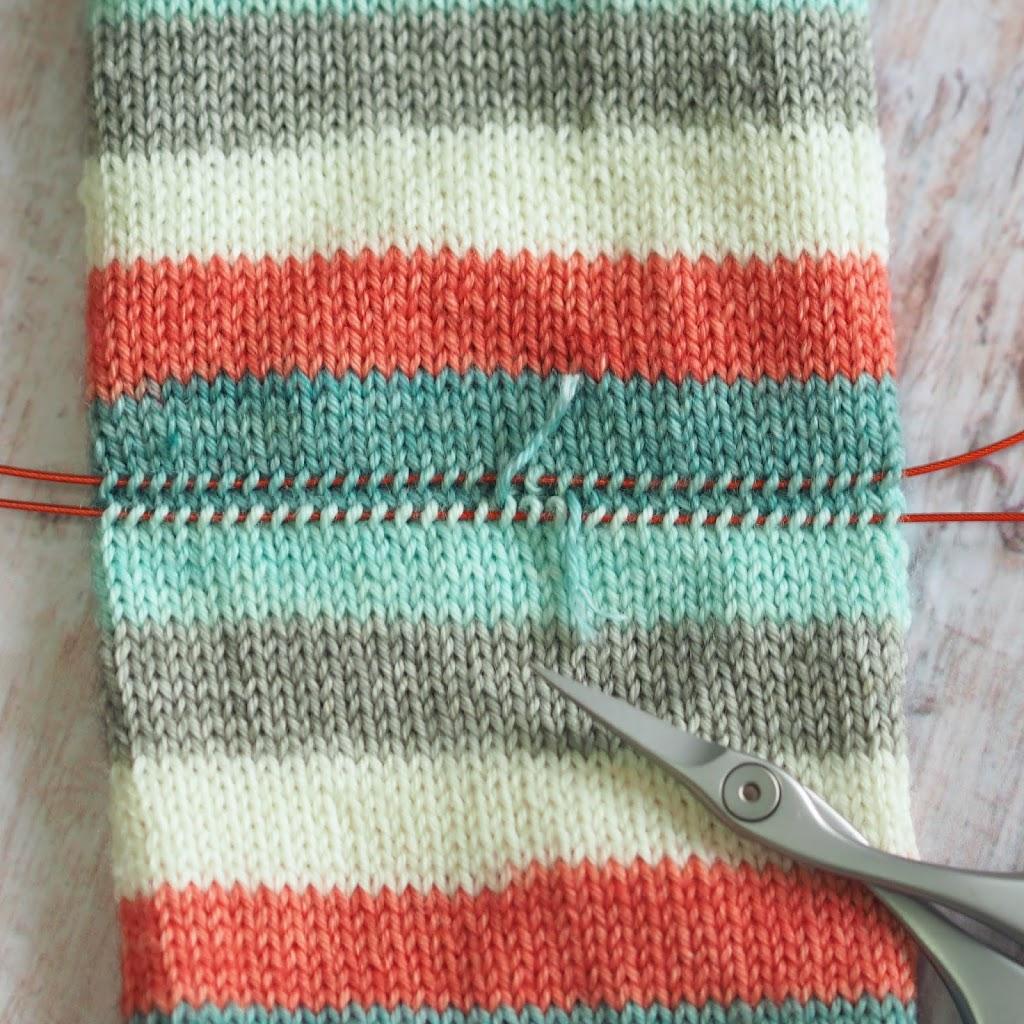
- Use a needle tip, slowly pull out the cut threads through the stitches until you get to the live ones at the side.

- You should have two ends that you can sew in later and you should be ready to start knitting your heel. Note: the video has some tips about picking up stitches in the joins for a neater finish.

